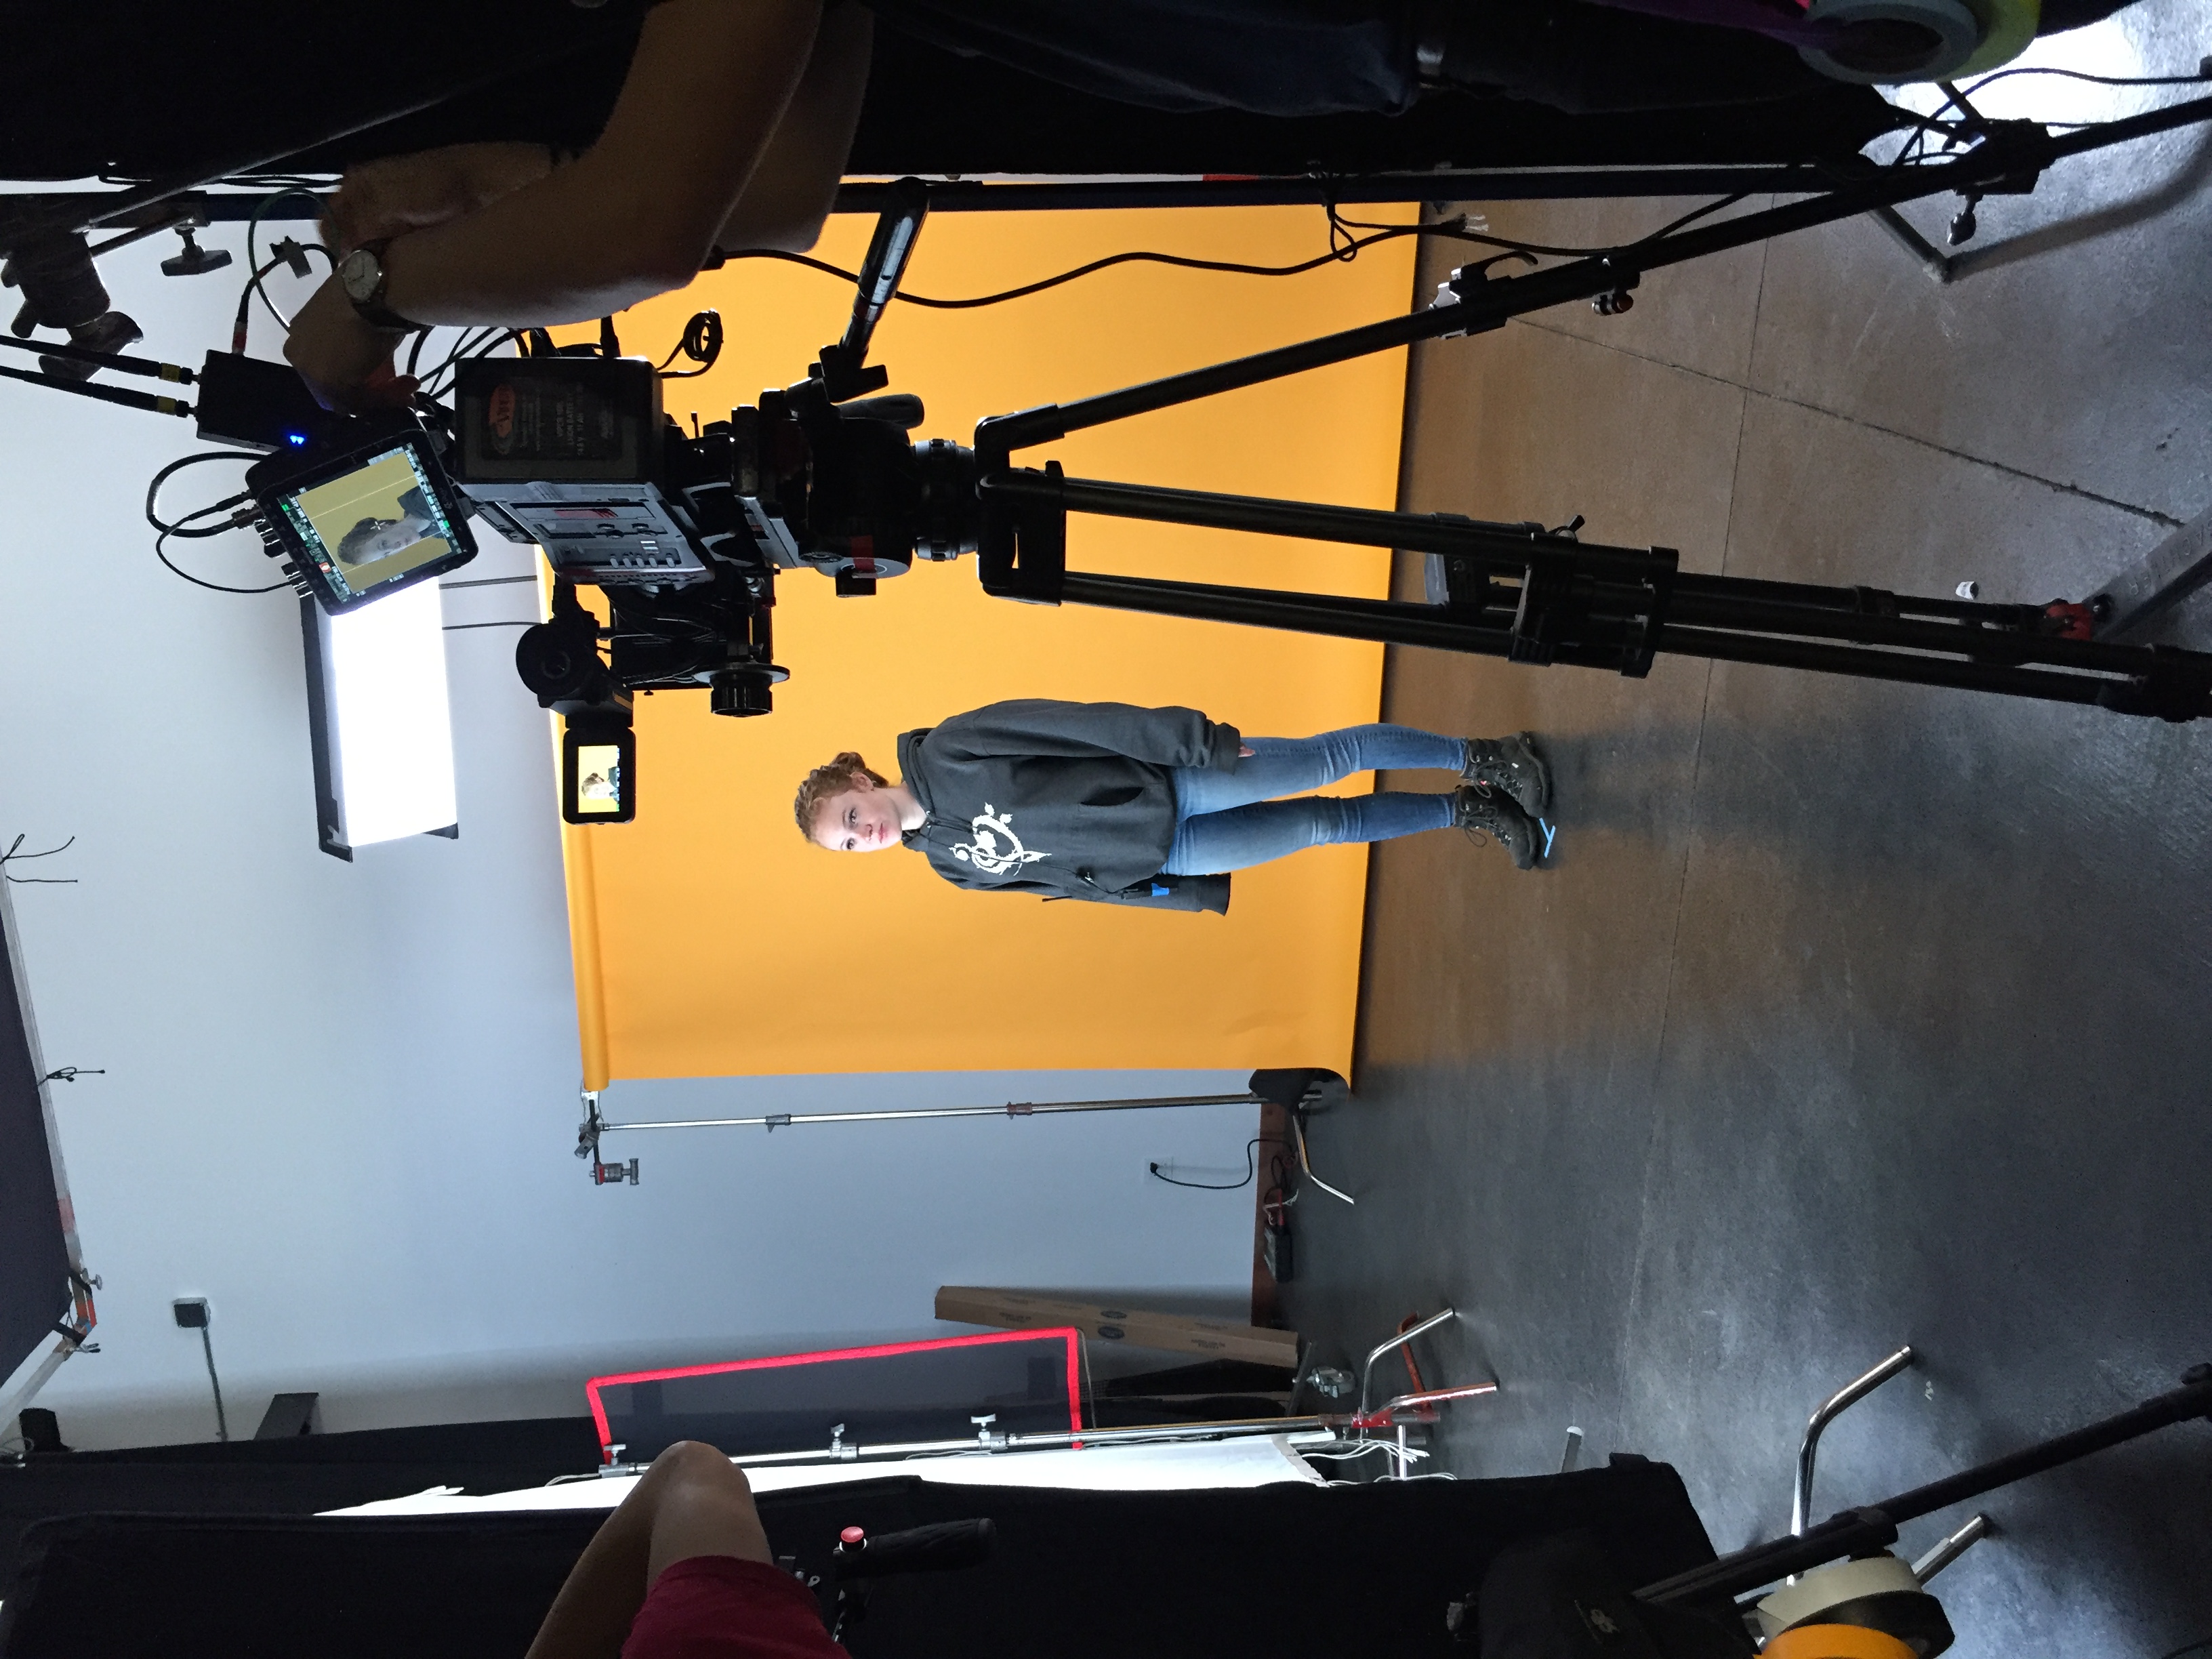
Three-point lighting is a classic approach to lighting interviews, talking-head videos, portraits, and other on-camera subjects. The name refers to three functions: a key light, a fill light, and a backlight or rim light. The setup is a useful starting point, not a formula that must be copied literally on every shoot.
Start with the key light
The key light establishes the main direction and character of the light on the subject. It is often placed to one side of the camera and somewhat above eye level, creating shape across the face rather than illuminating it straight on. The exact position depends on the subject, lens, background, room, and intended mood.
A larger, softer source can produce gentle transitions across the face, while a smaller or more distant source can create harder shadows. The important decision is what the key light should communicate and how it works with the available light already in the location.
Use fill to control contrast
The fill side controls how dark the shadow side of the face becomes. A production can use another fixture, reflected light, a white surface, or simply the ambient light in the room. Fill does not have to eliminate the shadows created by the key. Often its purpose is to preserve detail while keeping enough contrast to give the image depth.
Negative fill does the opposite. A dark surface placed near the subject can absorb stray light and deepen the shadow side. This can be useful in bright rooms where walls and windows are bouncing more light onto the subject than the cinematographer wants.
Separate the subject from the background
A backlight, hair light, or rim light comes from behind or to the rear side of the subject. It can create a highlight on the hair, shoulders, or edge of the face, helping separate the person from the background. The effect should fit the scene. A subtle edge may be enough; an obvious halo can look artificial if the rest of the lighting is naturalistic.
Background lighting can serve the same general purpose by creating tonal or color separation behind the subject. The production does not need to force all three traditional fixtures into a location when another approach creates the same visual hierarchy.
Adapt the setup to the room
Windows, practical fixtures, wall color, ceiling height, and the time of day can change the plan. A three-point concept may become a two-light setup with negative fill, or the window may become the key while the crew adds only fill and background control. Our guide to balancing exterior daylight and interior lighting covers this problem in more detail.
Check every camera angle
For a multi-camera interview, one lighting setup must work across more than one composition. Check the widest frame for stands, reflections, and spill, then compare skin tone and contrast in each camera. A light that looks ideal from the primary angle may appear too frontal or create an unwanted reflection from the second.
Capitola Media uses this approach for interview video production and other corporate video production. Three-point lighting remains useful because it provides a clear framework, while experienced crews can adapt that framework to the subject, location, cameras, and story.